
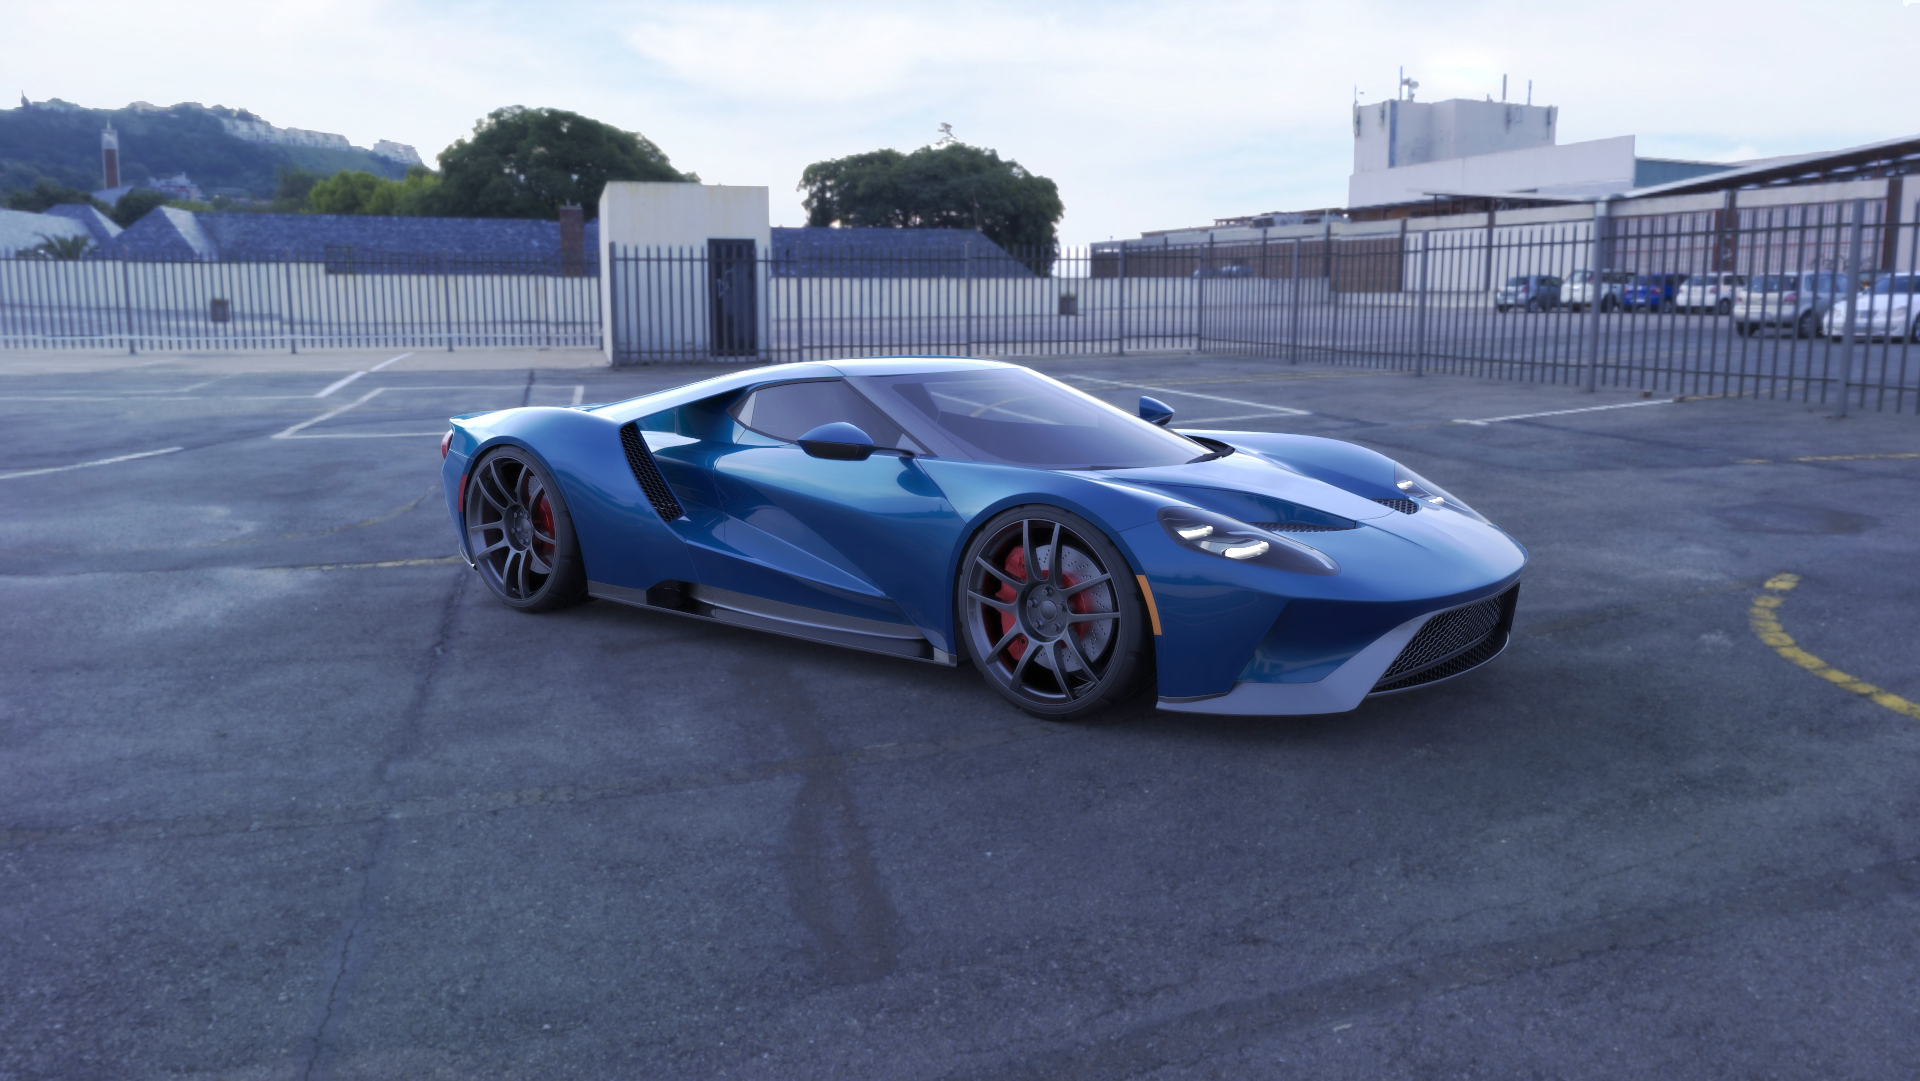
Ford GT 3D Car Modeling Tutorial
Learn to model a fully detailed High Poly Ford GT, all videos will be available for free on YouTube, stay tuned for more!
Welcome to my Ford GT 3D Tutorial. This is quite an advanced level tutorials as the Ford GT body has a very complex design. This Tutorial series will be looking at the tools and techniques required to create a high poly, fully realized Ford GT. The series uses Autodesk May to complete the vehicle however, any 3D software will allow you to achieve the same result just using different tools with a different interface. I have attached all the files needed to get started, ready formatted to import straight into your 3D package.
Brake and Tire Download
Timelapse
Watch the build in full from start to finish using Autodesk Maya.
Part 1
Episode one starts with the wheel arch before moving around to form the Front Bumper.
Part 2
After the basic Front Bumper shape is complete, we move onto adding basic details to the hood.
Part 3
This episode continues to work down the side of the car creating the basic door shape.
Part 4
After working across the roof, we move on to the Rear Quarter Panel of the car.
Part 5
This episode focuses on adding more details to the door and Rear Quarter before merging.
Part 6
This episode continues with the rear creating the body shape around the exhaust pipes.
Part 7
More work around the rear quarter and the body shape that surrounds the Tail Lights.
Part 8
Starting the Rear Diffuser, creating a base mesh that we will detail a little later.
Part 9
Joining the roof to the rear quarter and adding in some hidden details for air flow.
Part 10
Remodeling some areas to help with the smoothing process then adding a basic floor.
Part 11
This episode links the roof with the rear quarter panel and adds the trim ready for glass.
Part 12
Here we make a few edits to the rear quarter before creating some honeycomb grills.
Part 13
Subdivide time! Next we add some details before we start to extract and smooth the front bumper.
Part 14
Continuing to prepare the front end for subdividing into a nice smooth finish.
Part 15
A few more finishing touches to the front bumper before completing the hood and Front Fender.
Part 16
Refining some of the finer details then moving up the Windscreen and onto the roof.
Part 17
Taking a break from some of the trickier elements to work along the Side Skirt and rear Diffuser.
Part 18
Fixing a couple of issues and then finishing off the Rear Diffuser.
Part 19
Preparing the rear for subdivision, making a start on the Rear Bumper.
Part 20
Finishing the Rear Bumper and then moving onto the twin Exhaust tail pipes.
Part 21
Probably one of the hardest areas, starting to prepare the door for Subdivision.
Part 22
Working on the Rear Tail Light details and finishing the Rear Spoiler.
Part 23
Moving onto the hardest part, the Rear Boot Lid and Quarter panel.
Part 24
Finishing off the Rear Quarter Panel, not quite as challenging as first anticipated.
Part 25
Adding our Hex grill to the side pod Intakes before fine tuning some trim.
Part 26
Creating the Wheels in a new file, using a fairly simple method.
Part 27
Adding concave to the rear Wheels before making a Start on the Wing Mirrors.
Part 28
Fine tuning the Side View Mirrors before detailing some Trim pieces.
Part 29
Preparing the front end for the tricky bit, making a start on the headlights.
Part 30
Continuing with the Headlights, much larger job than first thought.
Part 31
Continuing with the Headlights, much larger job than first thought.
Part 32
Finally finishing up! Only thing left to do in this episode are finishing up some final trim.
If you enjoyed this Ford GT 3D Car Modeling Tutorial series, please subscribe for more content coming soon, once the channel has a has access to the Community tab, I will be able to create polls to be able to create the content that people want to see.

